Fortinet VPN Tunnel (Client Remote Access)

If you failed at setting up a Fortinet VPN Tunnel and don’t have a subscription with Fortinet this post is for you!

After setting up my AD at home with Enterprise grand networking, I set up a remote site at the “in-laws” with the 2nd DC. With both sites having Fortigate firewalls, I setup a IPsec Tunnel (site to site) between the two.

The next step was suppose to be easier, “Remote Access” to the home lab domain. It wasn’t as easy as I thought, I almost called this post, “When Cookbooks have bad recipes!”

Fortinet even has a recipe for it: https://docs.fortinet.com/document/fortigate/6.0.0/cookbook/786021/configuring-the-ipsec-vpn.

Two things I missed because the instructions weren’t clear (at least for me):

1. ” Configuring the IPsec VPN, Step 6: Enter a Client Address Range for VPN users. The IP range you enter here prompts FortiOS to create a new firewall object for the VPN tunnel using the name of your tunnel followed by the _range suffix (in the example, IPsec-FCT_range).”

FortiOS provides these addresses dynamically. Put in a “new range” that doesn’t exist!

2. ” Configuring the IPsec VPN, Step 10, In the Peer ID field, enter a unique ID, such as dialup1.”

This is important if you have other tunnels. “FortiOS will get confused where the traffic is coming from and going to without the [Peer ID].” Here I gave it “RemoteAccess.”

Configuring FortiClient, Step 4: Expand Advanced Settings > Phase 1 and in the Local ID field, enter dialup1.” This same ID is needed on the Remote Clients configuration as such:

Hope this helps someone else.

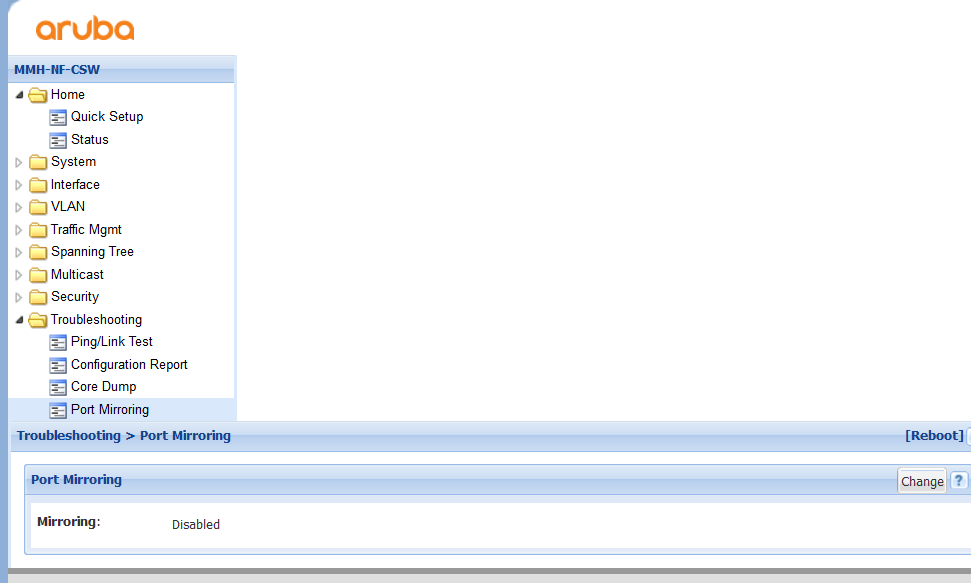
New vs Old Aruba GUI

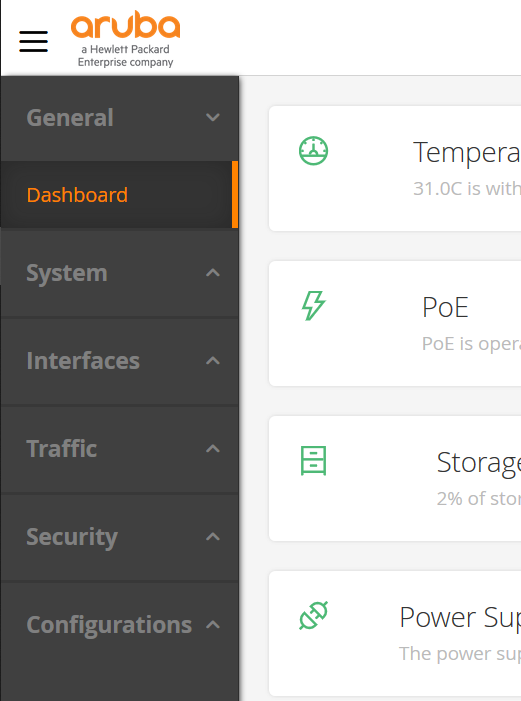
Recently working on an Aruba Switch. I have to complain that it was an overkill on making it look nice.

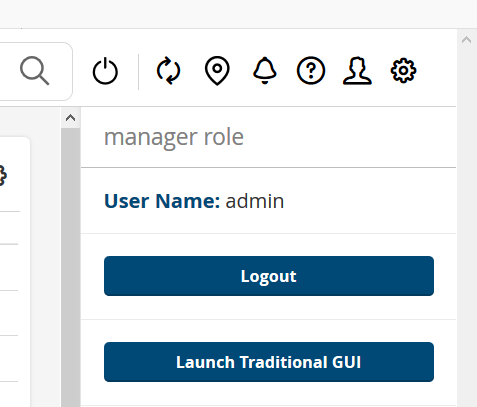
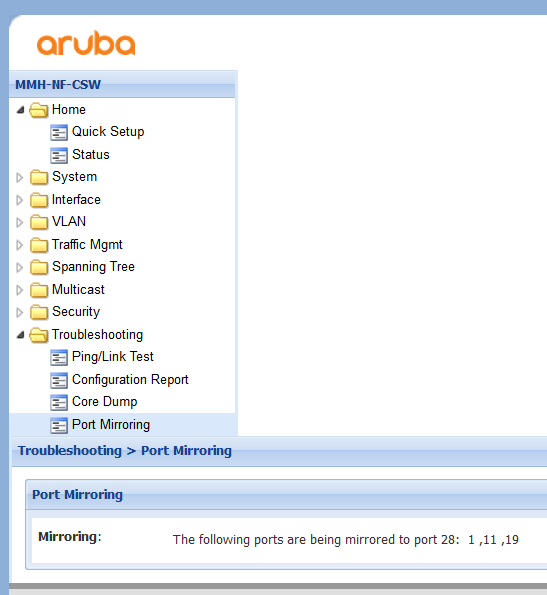
Luckily, they left a way to switch back to the old GUI. The switch back button is to the right.

Maybe it’s just me but the older GUI is easier to work with!

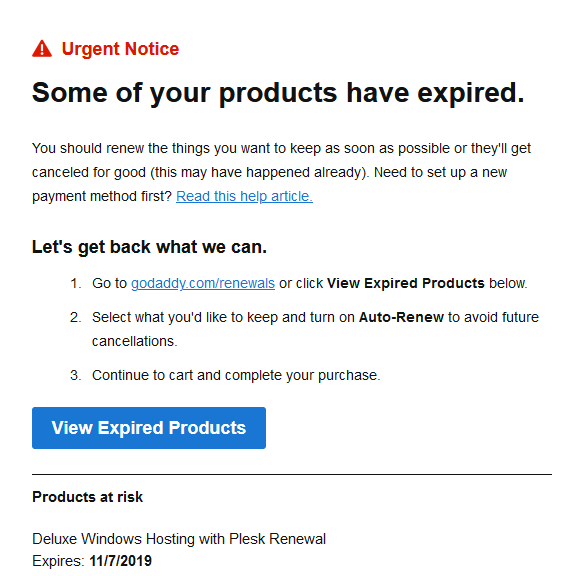
Goodbye GoDaddy

Once the best domain registrar to go to and even hosting, now they are simply too big get things done right!

Strike 0, no more coupons. It’s not an official strike because it’s okay for them to make money.
Strike 1, no more daily backups. They don’t have to be automated but at least offer them.
Strike 2, start charging for back ups.
Strike 3, start charging for restores and/or not helping client. $150.

Big NO NO! They loss my hosting account, SSL, future business, and numerous referrals.

Buyer beware!

Browser Specific Shortcut GPO

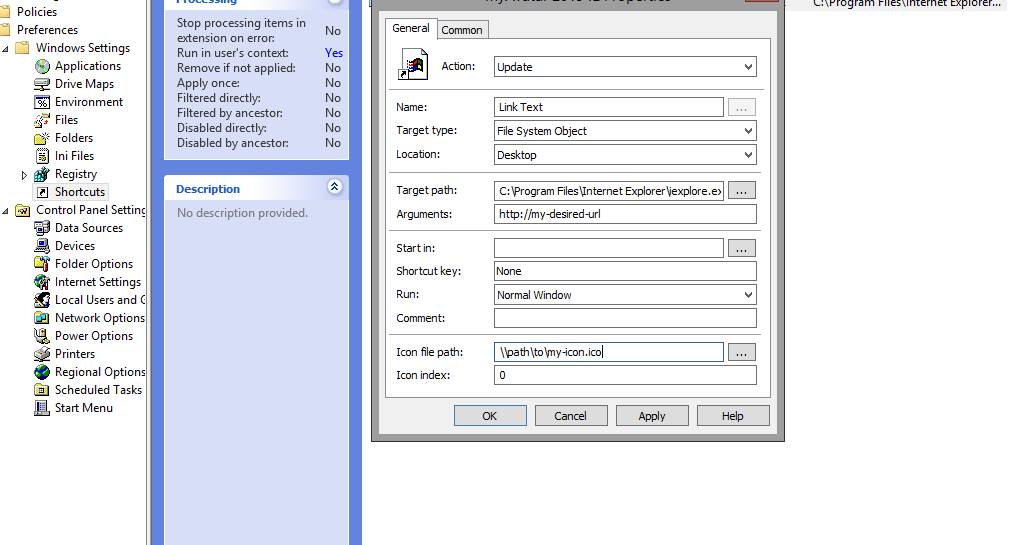
I recently had to target IE for a certain link. There were great examples to be found. But here is my version:

Create a new GP

Right-click on your GPO and select edit
Expand User Configuration > Preferences > Windows Settings
Select [Shortcuts]
Right-click in the empty space and select new > [Shortcut]

Action > What’s best for your situation
Name > Your link text
Target type > File System Object
Location > Desktop
Target path > C:\Program Files\Internet Explorer\iexplore.exe or another browser
Arguments > URL that you need to open

Find a Users Organizational Unit (OU)

It’s quite simple to search for a user’s profile/details, but I have run into issues finding what OU that user is in. A common task is moving a user from one OU to another.

A solution a found was to use the GETADUSER command. Specifically:

getaduser -identity userAcctHere

Here are come of the fields returned:

DistinguishedName, is very helpful!

This also works for computers too using: getadcomputer.

Gmail IMAP and Office 2016

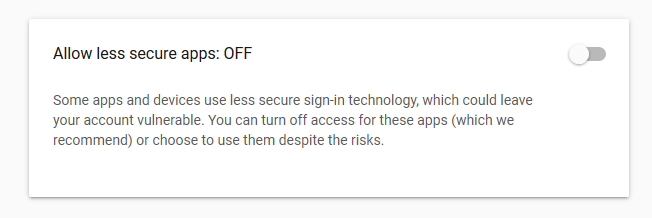
I just had a really hard time getting one of my Gmail accounts to connect to Outlook 2106. I normally isn’t that hard, but Goggle updates it’s security and made Office 2016 a “less secure app”.

The support and help for both Outlook and Gmail are a little dated it seems. Everything on the web is pointing to:

https://admin.google.com/

But it’s now myaccount:

https://myaccount.google.com/

From there, go to your Security setting then “Allow less secure apps”.

The fingerprint scanners needs to trend back to the front of the phone.

In the world of smartphones there are a plethora of phones to choose from. But how often do the little things like a fingerprint reader placement make or break your purchase decision? I haven’t bought a new phone since the Samsung S6!

I’ve used both and realized a front-facing fingerprint scanner is way more convenient than a rear-facing one since I can see it and easily tap it with different fingers from different angles. In contrast, I had to hold the phone in a particular way to get the back one to work. To be frank I hate it when companies tinker with designs and end up messing up the whole ergonomics of the phone.

Android phone manufacturers tend to do more harm than good in this area. Just take a look at the Samsung S9 and Note 9, with their misplaced fingerprint sensor position. One might think despite complaints from consumers other companies will learn. Nope! Even though previous generations of Apple’s iPhones had fewer features compared to their Android counterpart, Apple at least kept the fingerprint sensor on the front with one of their phones, the iPhone 8.

When the fingerprint scanner is in front, it is easier to reach and use. Plain and simple.
If your phone is kept on the table or any other surface then you don’t need to pick it up. Just put your finger and voila! Whereas, a rear-facing scanner phone has to be lifted.

It makes your phone look beautiful too. If the fingerprint sensor is not there, the phone just looks too bland. Some phones have a big chin and waste the space by having the placement on the back of the phone.

If you are driving in a car and your phone is in a phone mount or holder, at that time the rear sensor will be of no use at all because the holder covers it up and also it may cause unwanted touches to the scanner which can scratch or damage it.

Some people might argue we shouldn’t be on our phones while driving anyways. Please Telsa that, with their full screen dash! We all use a Map or Navigation app of some sort. Especially ride sharing drivers.

In phones like the Samsung S8, S8 Plus, Sony Xperia XZ3 etc. the camera is often mistaken for the sensor. So touching it again and again soils the camera and may even cause damage.
The biggest issue I’ve found is when pressing the rear-facing scanner, I have to hold the phone in a particular way, either from the front or sides to provide enough resistance to scan my finger, and there’s less area to provide this resistance whereas a front-facing scanner has way more area of resistance from the back and sides with different angles.

In the end, it is a matter of personal preference but I am a strong advocate of having it in front.
JSON to Javascript Date & Time (HH:MM:SS AMPM) 12HR

Recently needed to convert JSON to Javascript Date & Time. Not only that I needed it in a specific format (HH:MM:SS AMPM) 12HR. The answer wasn’t so clear cut and simple, but I found what worked for me:

var dateAdded = new Date(parseInt(val.DateAdded.replace("/Date(", "").replace(")/", ""), 10));
//the below 3 were other options
//var dateAdded = new Date(+val.DateAdded.replace(/\/Date\((\d+)\)\//, '$1'));
//var dateAdded = new Date(parseInt((val.DateAdded.substr(6))));
//var dateAdded = eval(val.DateAdded.replace(/\/Date\((\d+)\)\//gi, "new Date($1)"));
$(".spnDate", table).html(formatDate(dateAdded));


function formatDate(dateAdded) {
var actDate = new Date(dateAdded);
var m = actDate.getMonth();
var d = actDate.getDate();
var y = actDate.getFullYear();
var h = actDate.getHours();
var mm = actDate.getMinutes();
var s = actDate.getSeconds();
var ampm = h >= 12 ? 'PM' : 'AM';
h = h % 12;
h = h ? h : 12; // the hour '0' should be '12'
mm = ('0' + mm).slice(-2); // the minute '0' should be '00'
s = ('0' + s).slice(-2); // the second '0' should be '00'
return (m + 1) + "/" + d + "/" + y + " " + h + ":" + mm + ":" + s + " " + ampm;
}

Hope this helps someone else!